
Introduction
Publishing an Android application on Google Play is not simply a matter of uploading an APK or app bundle, completing a store listing, and pressing the publish button.
For developers using certain newer personal Google Play Console accounts, there is an additional requirement that must be completed before the app can be made publicly available.
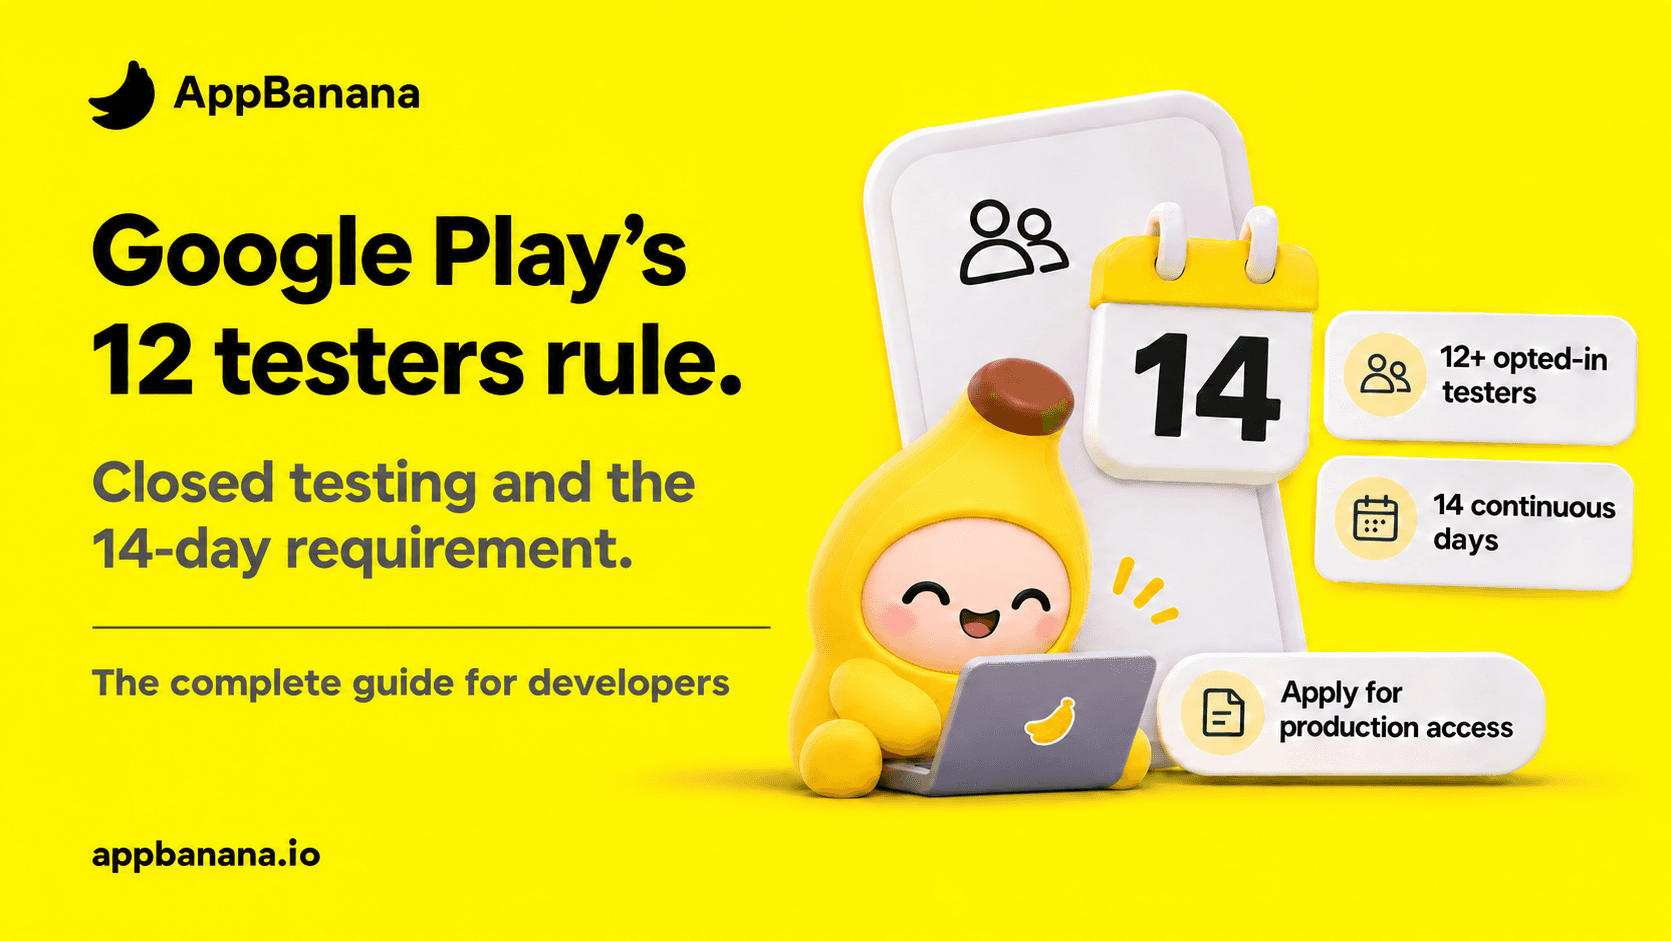
Google requires eligible personal developer accounts to conduct a closed test involving at least 12 testers who remain opted in continuously for a minimum of 14 days. After meeting the requirement, the developer can apply for production access through Google Play Console.
The rule sounds straightforward. In practice, developers often encounter problems that have little to do with the number of people they invite. Testers may never complete the opt-in process, someone may leave the testing programme before the required period ends, the wrong testing track may be used, or the developer may reach the end of the 14 days without having collected meaningful feedback.
At AppBanana, we believe it is important to explain this requirement as a complete testing process rather than presenting it as a simple numbers exercise. A developer needs to understand what Google is asking for, what counts as participation, how to organise the test, and what should be prepared before applying for production access.
This guide explains the requirement, the practical steps involved, the mistakes that can delay an application, and how to approach the testing period in a structured way.
What is the Google Play 12 testers rule?
The Google Play 12 testers rule applies to personal developer accounts created after 13 November 2023.
Under Google’s current guidance, developers using these accounts must complete a closed test with a minimum of 12 testers. Those testers must remain opted in continuously for at least 14 days before the developer applies for production access.
There are three separate conditions to understand:
These conditions work together. Inviting 12 email addresses is not the same as having 12 opted-in testers. Likewise, running an internal test for two weeks does not satisfy the closed testing requirement.
Once the testing criteria have been met, the developer can apply for production access from the relevant section of Play Console. Google then asks questions about the app, the testing process, the feedback received, and the developer’s readiness to release publicly.
Read Google’s testing requirementsWhich developer accounts need 12 testers?
Google’s published requirement specifically identifies personal developer accounts created after 13 November 2023.
This distinction matters because advice written for one type of developer account may not apply to another. Before recruiting testers, check the account type and creation date associated with your Play Console account.
If your account falls within the affected category, plan the closed test before treating the app as ready for public release.
Do not assume that an older article, a forum comment, or another developer’s experience establishes the requirement for your account. Check the current instructions in your own Play Console and compare them with Google’s official documentation.
Google’s requirement is documented here:
App testing requirements for new personal developer accountsInternal, closed, and open testing: what’s the difference?
One of the most common sources of confusion is the difference between Google Play’s testing tracks. Each track has a different purpose, and choosing the wrong one can cost a developer valuable time.
| Track | What it’s for | For affected personal accounts |
|---|---|---|
| Internal | Early checks with a trusted group. | Optional. Does not replace closed testing. |
| Closed Required track |
A selected group tests your app and shares feedback. | 12+ testers opted in continuously for at least 14 days. |
| Open | A test version available to a wider audience. | Available after production access is granted. |
| Production | Public distribution on Google Play. | Requires production access and the applicable release process. |
Internal testing
Internal testing is designed for quick distribution to a small group of trusted testers. It is useful when an app is still being developed and the team needs to identify basic functionality issues.
Developers can use this track to check installation, navigation, login flows, crashes, and other early-stage problems.
Internal testing is optional, but it can be a sensible first step before inviting a larger group into a closed test.
Closed testing
Closed testing is the track relevant to the 12 testers and 14-day requirement.
It allows a developer to distribute an app to a selected group of testers. Access is controlled through the testing configuration, such as an email list or Google Group.
This is where the required 12 testers must complete the opt-in process and remain opted in for the required period.
A closed test should have a clear purpose. Testers should know what the app is intended to do, which features they should evaluate, how to report problems, and where to send feedback.
Open testing
Open testing allows a wider audience to access a test version of an app. It is not a substitute for the closed testing requirement that applies before production access.
For the affected personal accounts, Google’s documentation states that open testing becomes available after production access has been granted.
Production
Production is the track used to distribute the app publicly on Google Play.
For eligible personal accounts, production access is gated by the closed testing requirement and the subsequent application process.
How to prepare your app before starting closed testing
Starting the 14-day process with an unstable app can make the testing period less useful. It may also create avoidable work if testers cannot install the app, access important features, or understand what they are supposed to evaluate.
Before creating the closed test, review the following areas.
-
Check the app’s basic functionality.
Install the app on a real Android device and test the main user journey. If the app requires registration, complete the registration process. If it includes payments, search, messaging, or other important features, check that the relevant flows work as expected.
A tester should be able to evaluate the app without first having to overcome obvious installation or navigation problems.
-
Review the store listing.
Check the app name, description, screenshots, icon, and other listing information. Make sure the content accurately represents the app.
Do not describe features that are not available in the testing build. A mismatch between the listing and the actual app can confuse testers and make feedback less useful.
-
Check permissions and privacy information.
Review the permissions requested by the app and confirm that they are appropriate for its functionality. Check that the privacy policy and data-related disclosures are accurate and consistent with the app’s actual behaviour.
If the app collects personal information, explain the relevant data practices clearly.
-
Prepare tester instructions.
Do not send testers an installation link without context. Give them a short explanation of the app, the features they should evaluate, and the method for reporting issues.
Your tester instructions should answer four questions
- What is the app designed to do?
- How does the tester join the closed test?
- Which features should the tester try?
- Where should the tester report a problem or share feedback?
These instructions reduce confusion and help the testing process produce useful information.
How to set up a Google Play closed test
The exact labels and layout in Play Console may change, but the general process is as follows.
-
Complete the required app setup
Sign in to Google Play Console and select the application you want to test.
Complete the app setup tasks that Play Console requires before you can create the closed test. Review the app information carefully rather than leaving incomplete sections until the end of the testing period.
-
Open the testing section
Test and release → Testing → Closed testing
Navigate to the testing area in Play Console and select the closed testing track.
Create a closed testing release and follow the instructions to upload or select the app bundle you intend to distribute.
-
Configure tester access
Choose how testers will be added. Depending on the available configuration, you can use an email list or a Google Group.
Make sure the accounts you add are the accounts your testers will use when accessing Google Play. Sending an invitation to an address that the tester does not use for Google Play can create unnecessary problems.
-
Review and roll out the test
Check the release configuration and tester access settings before rolling out the closed test.
Once the release is available, copy the testing link and provide it to the selected testers along with clear joining instructions.
-
Confirm that testers have opted in
This step deserves particular attention.
Being included in a tester list does not automatically mean that someone has joined the test. Testers must follow the opt-in process through the testing link.
Ask each tester to confirm that they have successfully joined. Keep a record of confirmations so that you can identify people who received an invitation but did not complete the process.
Google provides additional guidance on creating and managing testing programmes in its testing tracks documentation.
Final thoughts
The Google Play 12 testers rule is best approached as a structured quality-checking process, not as a race to collect 12 email addresses and wait 14 days.
The important details are easy to overlook: the account must fall within the relevant eligibility category, the correct closed testing track must be used, testers must complete the opt-in process, and the required group must remain opted in continuously for the specified period.
The time spent testing should also have a practical outcome.
Developers should use the opportunity to identify problems, understand how people interact with the app, and make improvements before public distribution.
At AppBanana, we believe developers should have clear information before they begin this process. Understanding the requirement at the start can prevent avoidable delays and make the path to production access easier to manage.
Before submitting your application, check the current instructions in Google Play Console and make sure your testing records accurately reflect what happened. The official documentation remains the final reference for the requirement and the application process.
Official references
Use Google’s documentation for current requirements and configuration details.
- 01App testing requirements for new personal developer accountsGoogle Play Console Help · Eligibility, minimum testing, and production access
- 02Set up an open, closed, or internal testGoogle Play Console Help · Tracks, tester access, and release setup
- 03Creating helpful, reliable, people-first contentGoogle Search Central · Editorial guidance, not a Play testing requirement